Help
Upload a Collection Image
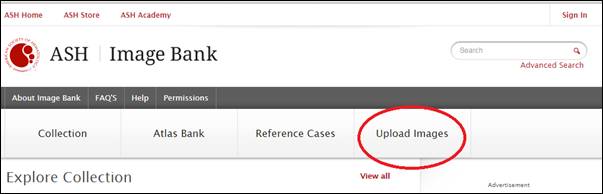
To upload a collection image, click Upload Images menu in the application:
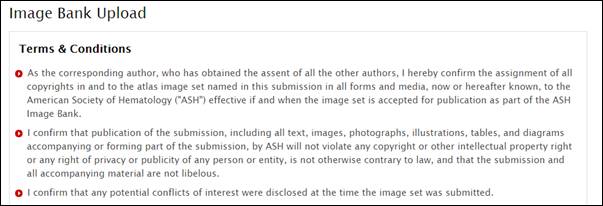
If you are not signed in then the application will redirect you to the Sign In page. Once signed in, you will be redirected to the Terms & Conditions page.
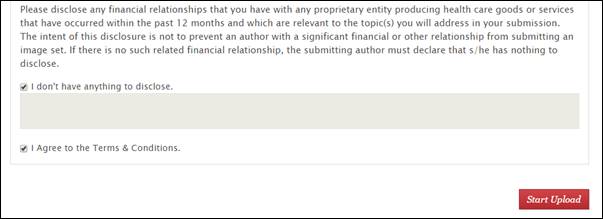
You may list the disclosures in the textbox or choose to select the checkbox to not disclose anything.

You must then review and ‘Agree’ to the Terms & Conditions before proceeding. Select the checkbox once you are ready to upload the image and click Start Upload button. You will be redirected to the page to add image(s).

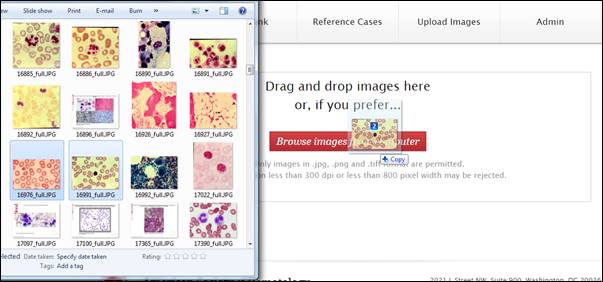
You may drag the images from Windows Explorer to the container in the above page to add the image.
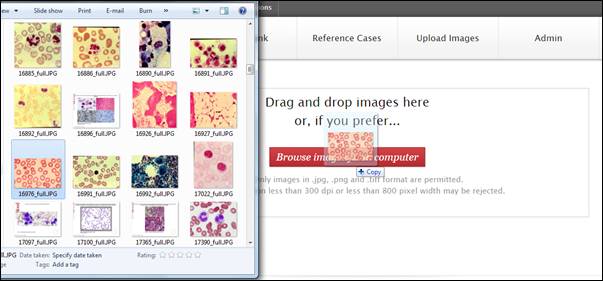
Alternatively, click the button Browse images from computer to add an image.
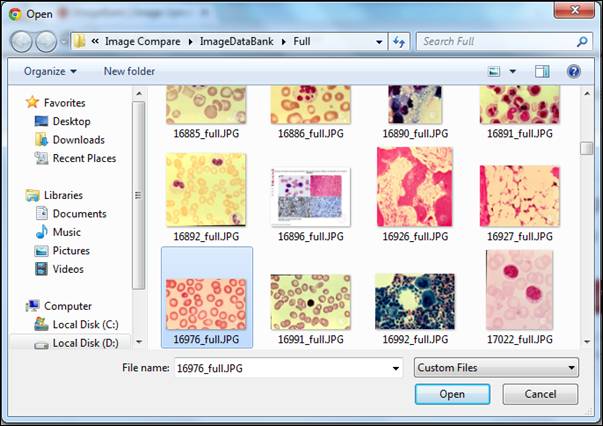
In this dialog box navigate to the folder to select a file and click Open. Only image files in .jpg, .png, and .tiff formats are allowed.
After adding the image by dragging from Explorer or by selecting through the dialog box an upload progress bar appears and then the image will be added to the submission.
You may add multiple images by clicking on the Add menu. Clicking Add will open the dialog box to navigate to a folder from your computer just like you did in the previous step.
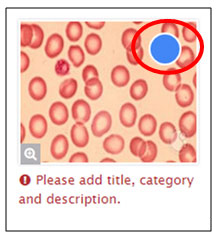
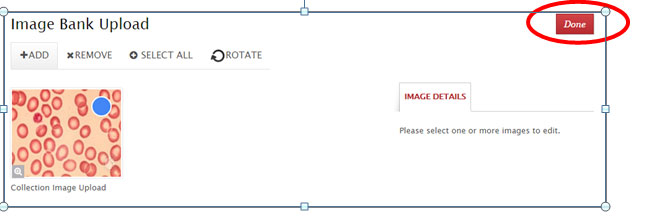
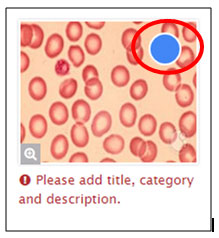
You may select and/or deselect an image using the checkbox (with the blue background). Alternatively, you can use Ctrl and Shift keys to select and deselect multiple images or you may use the Select All/Deselect All menu option above.
The Remove menu option will exclude the selected images from the submission.
The Rotate menu option will rotate the selected images by 90° clockwise.
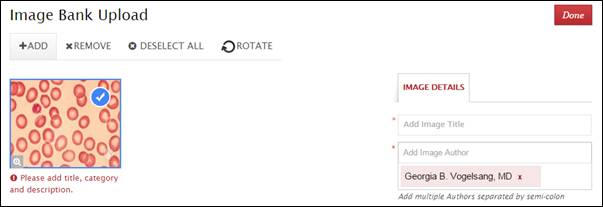
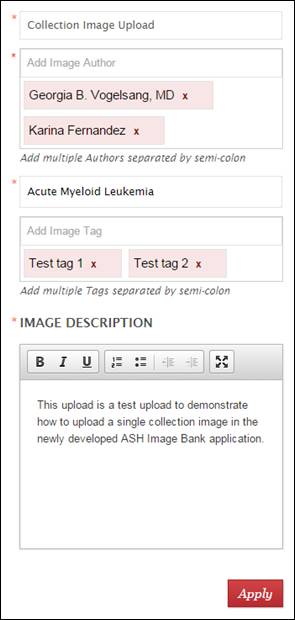
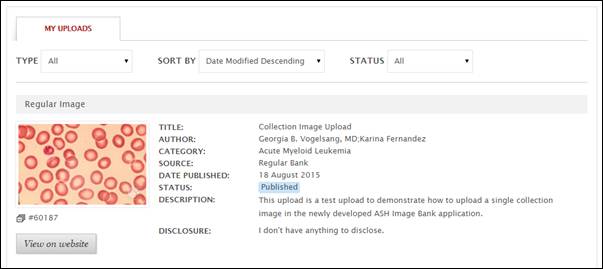
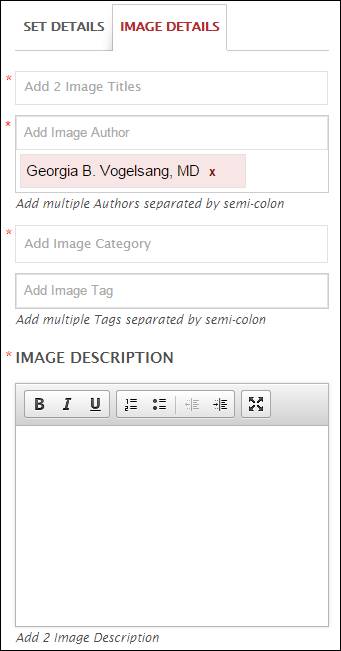
On the right hand side the image details will be listed. Depending upon the image selection, the Image Details section will be populated. The Author field is pre-populated by your name. However, this may be edited.
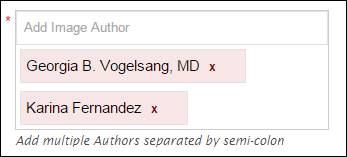
You may even add multiple Authors.

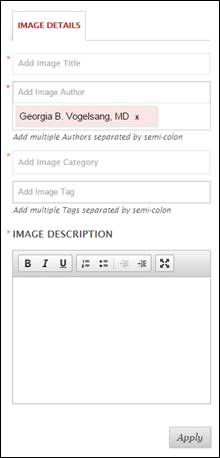
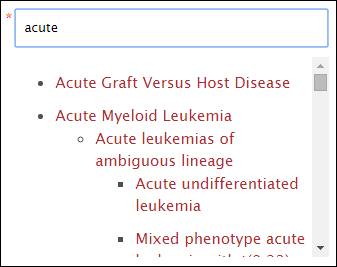
To add a category, as you type the category in the textbox, a list of categories matching your text is displayed. You have to select one of the categories from the dropdown displayed. New Categories cannot be created at this stage.
All fields marked with an asterisk (*) are mandatory. After entering the Image Details for each image click the Apply button.
After Image Details of all the images are entered click the Done button on the top right to move forward.
The next screen allows you to see a preview of the submission before you submit it. The preview displays how the submission will look like on the website once it is published.
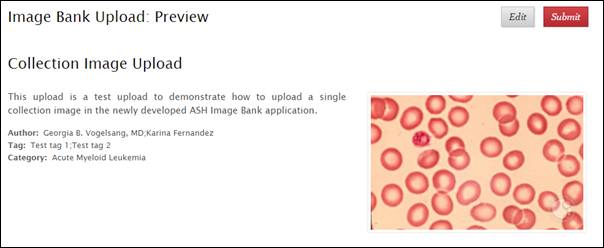
You may choose to go back to edit the Image Details by clicking the Edit button.
Once you have finished with the changes to the image(s) then click Submit from the Preview screen to send the submission to the Image Bank Editor.
After the submission, you will be redirected to the Thank you page. Also, you will receive an acknowledgment email for your submission.
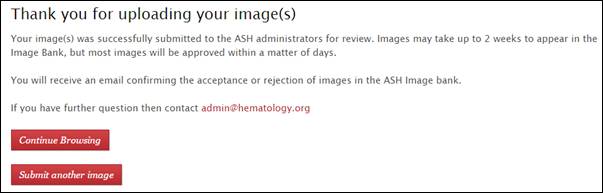
To track the status of your submission you can go to the My Uploads section using the My Accounts link at the top of the page.

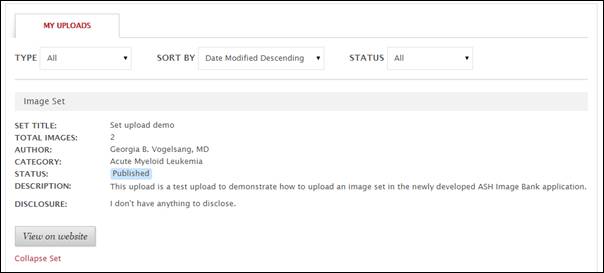
In the My Uploads page, you will be able to see a history of your submissions along with its status.
Upload an Image Set
To upload an image set, click Upload Images menu in the application:

If you are not signed in then the application will redirect you to the Sign In page. Once signed in, you will be redirected to the Terms & Conditions page.

You may list the disclosures in the textbox or choose to select the checkbox to not disclose anything.
You must then review and ‘Agree’ to the Terms & Conditions before proceeding. Select the checkbox once you are ready to upload the image and click Start Upload button. You will be redirected to the page to add images.

You may drag the images from Windows Explorer to the container in the above page to add the image.
Alternatively, click the button Browse images from computer to add images in the set.
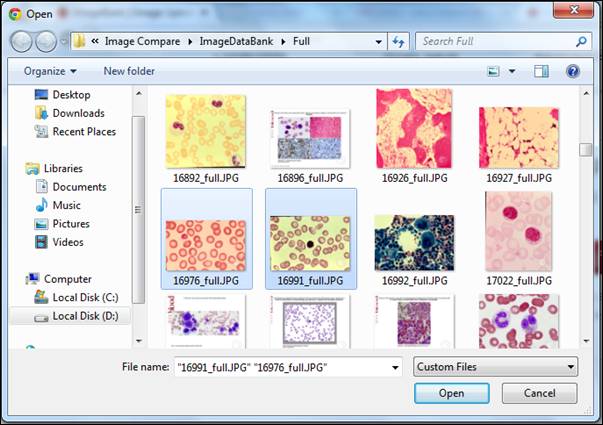
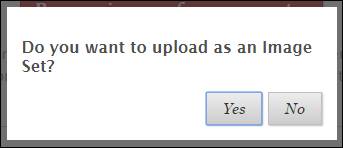
In this dialog box navigate to the folder to select multiple files and click Open. Only image files in .jpg, .png, and .tiff formats are allowed. You will be prompted to create this submission as a set. Click Yes to upload the images as a set.
After adding the image (by dragging from Explorer or by selecting through the dialog box) and then selecting the set option an upload progress bar appears and then the image will be added to the submission.
You may add further images by clicking on the Add menu. Clicking Add will open the dialog box to navigate to a folder from your computer just like you did in the previous step.
You may select and/or deselect an image using the checkbox (with the blue background).
Alternatively, you can use Ctrl and Shift keys to select and deselect multiple images or you may use the Select All/Deselect All menu option above.
The Remove menu option will exclude the selected images from the submission.
The Rotate menu option will rotate the selected images by 90° clockwise.
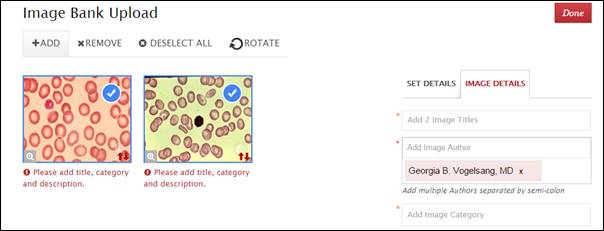
On the right hand side the image details or set details will be listed. Depending upon the image selection, the Image Details section will be populated. The Author field is pre-populated by your name. However, this may be edited.
You may even add multiple Authors.
To add a category, as you type the category in the textbox, a list of categories matching your text is displayed. You have to select one of the categories from the dropdown displayed. New Categories cannot be created at this stage.

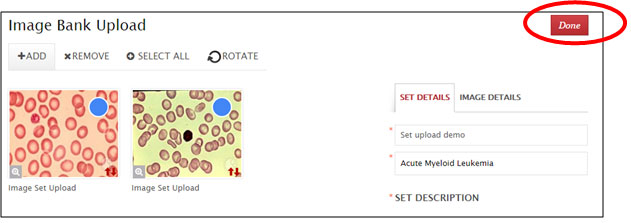
All fields marked with an asterisk (*) are mandatory. After entering the Image and Set Details click the Apply button to save the data to the submission.
Once Details for all images and set is entered then click the Done button on the top right to move forward.
The next screen allows you to see a preview of the submission before you submit it. The preview displays how the submission will look like on the website once it is published.
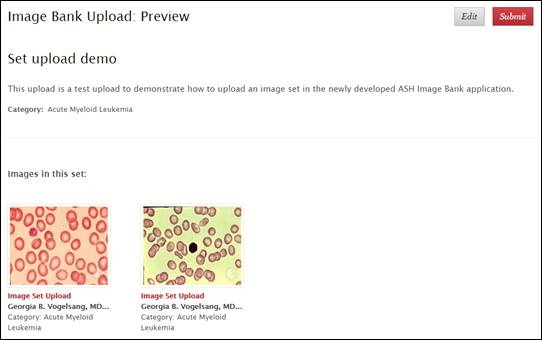
You may choose to go back to edit the Image and/or Set Details by clicking the Edit button.
Once you have finished with the changes then click Submit from the Preview screen to send the submission to the Image Bank Editor.
After the submission, you will be redirected to the Thank you page. Also, you will receive an acknowledgment email for your submission.

To track the status of your submission you can go to the My Uploads section using the My Accounts link at the top of the page.
In the My Uploads page, you will be able to see a history of your submissions along with its status.